
Knowledge base
January 29, 2022
Using the Whiteboard in Microsoft Teams
Our guide explains how to access the Microsoft Teams whiteboard.
Microsoft Teams is much more than just a video conferencing tool. While many users may only have experience using the platform to make video calls when face-to-face meetings aren’t possible, Microsoft Teams is really about creating collaboration opportunities.
As a result, it comes with a huge list of features (with more being added all the time), designed to increase productivity and allow for more of a hybrid approach to work. One of the ways Teams encourages this is through its whiteboard feature.
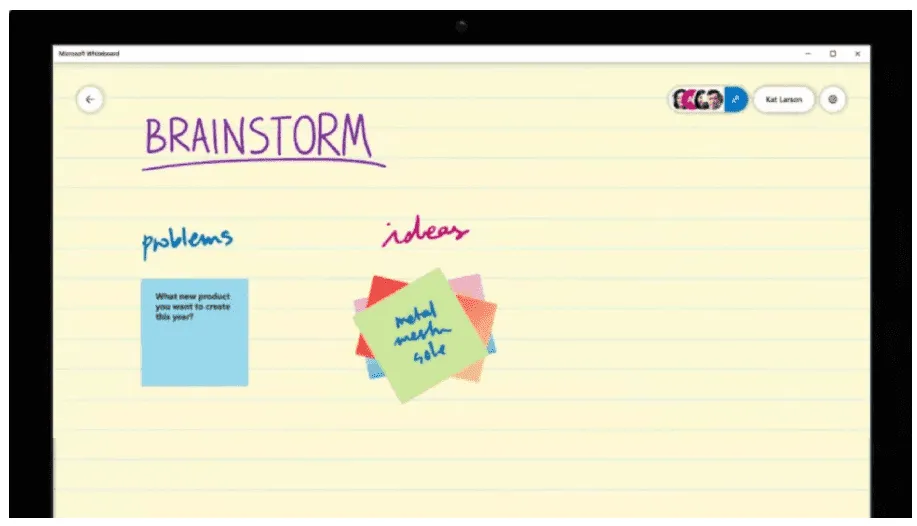
The whiteboard allows employees to jot down notes, make connections between different concepts, and generally share their ideas as if they were using pen and paper. In theory, this should make things a lot faster than typing things formally – and for some employees, it will simply represent a way of working they prefer or are more familiar with.
With the whiteboard it is possible to brainstorm visually with your colleagues, turning a standard video call into a live collaboration session. It’s also fully integrated with Teams, so you can launch the whiteboard at any time during a call. You can also share a whiteboard with almost any device, including tablets, smartphones, and desktop PCs. And you don’t have to worry about saving your creations or trying to find them after a meeting is over. All your whiteboard sessions are automatically stored in the cloud.
While the whiteboard is a free app available to anyone with a Microsoft account, a Microsoft 365 subscription — Microsoft 365 Business Basic and above or one of the Microsoft 365 Enterprise plans — is required to get the most of its collaboration potential. . Below we’ve created a handy guide that tells you how to access and use the whiteboard alongside Microsoft Teams.
STEP ONE: ENABLE MICROSOFT WHITEBOARD
Before you can start using Microsoft Whiteboard, make sure it’s enabled for your organization. To do this, first go to the Microsoft Teams admin center . Then click on ‘Settings’ and select ‘Services and Add-ons’. Scroll down to where it says “Whiteboard” and toggle “Turn whiteboard on or off for your entire organization” on or off, depending on whether you want to turn the feature on or off. Then click on ‘Save’.
STEP TWO: SHARE A WHITEBOARD

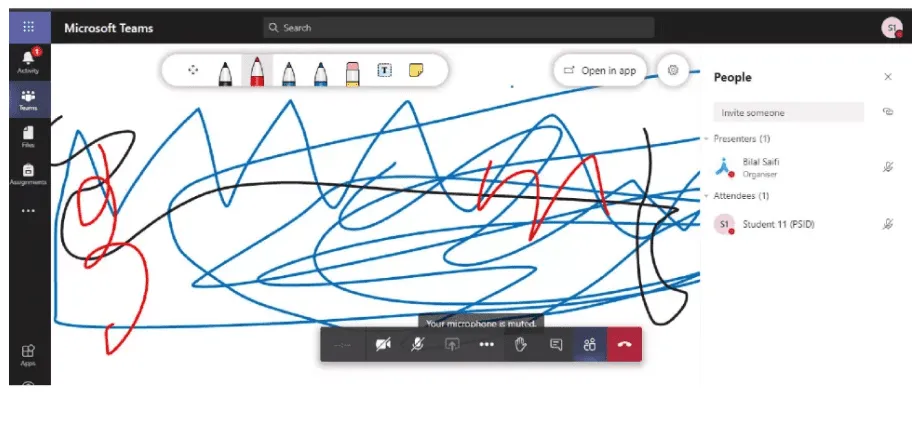
Once the whiteboard is enabled, it’s easy to access it during a Teams meeting. After joining a meeting, simply select the “Share” icon in the share box and select “Microsoft Whiteboard” in the whiteboard area. This will launch the Whiteboard canvas. After launching the canvas, all participants in your Teams meeting will have access and the same whiteboard will be available simultaneously in the web app, Windows 10, and iOS versions of the standalone Whiteboard application.
STEP THREE: USING THE WHITEBOARD

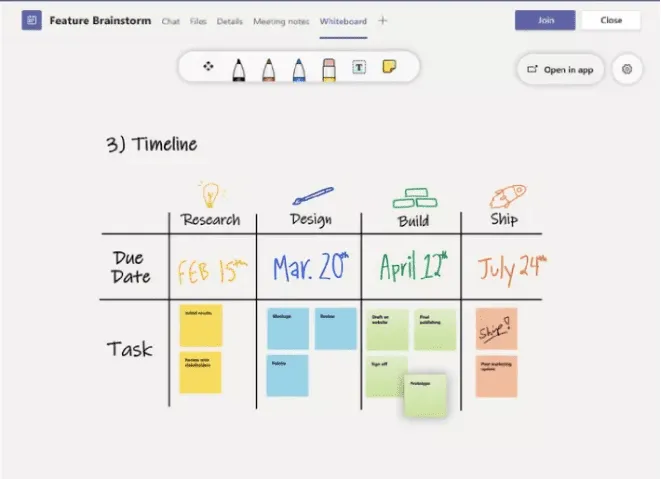
Once the whiteboard canvas is loaded, any participant in a Teams meeting can add to it. If they want to write as if they were writing things down with pen and paper, they should click on the pen icon, choose a color and start adding to the board. If they prefer to add text, select the Note or Text icons and start typing.
It’s worth noting that nothing you add to the board is set in stone. The Whiteboard feature should enable smooth real-time collaboration. So if you need to move or edit an item, these functions are all very intuitive. Plus, you can easily find out who created or edited a piece of Whiteboard content. For non-text items, hover over the object to display the “Created by” and “Last modified by” information. For typed content, hover the mouse over the solid rectangle that appears above the text.
If the features available from the version of the whiteboard natively rendered during a Teams meeting don’t meet your needs, they may be available through the standalone Microsoft Whiteboard app. While Microsoft is trying to bring parity to all of its versions of Whiteboard, you might want to check out the version of the app that’s available outside of a Teams meeting to see if it’s more to your liking. Best of all, any changes you make with the standalone app are reflected simultaneously on the whiteboard being edited in the Teams meeting.
STEP FOUR: OPEN A WHITEBOARD AFTER A CALL
Once a Teams meeting is complete, it doesn’t mean an organization is done discussing or working on a particular topic. With that in mind, any whiteboard you’ve used during a Teams conversation will remain available to all participants in that conversation via the Teams meeting chat via a tab called “Whiteboard.” The same whiteboard can also be accessed from the Board Gallery in the Microsoft Whiteboard apps for Windows 10 and iOS.
STEP FIVE: CLOSE AND DELETE YOUR WHITEBOARD
Maybe a particular project has been put on hold or has come to a complete end – in which case some of the whiteboards you’ve shared might not be of any use to you. If so, Teams users have several options. They can temporarily close a whiteboard that they may want to reuse at a later date by clicking “Stop Sharing” in the top right corner. This will close the whiteboard, but it can be reopened by going to the content list or recent content and clicking on the relevant whiteboard.
Conversely, if you want to permanently remove a whiteboard, click the down arrow at the top of the work area, click the arrow next to the whiteboard you want to remove, then select “Remove from Meeting.”
Source: tech radar
Want to know more?

Related
blogs


Tech Updates: Microsoft 365, Azure, Cybersecurity & AI – Weekly in Your Mailbox.