
Knowledge base
September 02, 2022
Top 5 settings you should try in Microsoft Teams Chat
Microsoft Teams is becoming increasingly popular among businesses for its powerful collaboration tools, including workplace chat, calling, file sharing and storage, application integration and more.
If you have migrated from Slack to Microsoft Teams or plan to migrate to Teams, you can customize the Teams chat settings in several ways. This article discusses everything you need to know about chat settings in Microsoft Teams.
Contact our migration experts for full assistance in migrating data from Slack to Teams, including direct messages and channels with all chat features.
Why are Microsoft Teams chat settings important?
The core activity of Microsoft Teams is chatting. Teams lets you chat individually, in groups, channels and meetings. There are a few settings you might consider trying to change to improve your experience. Notifications, themes, device settings and other options can all be changed. Here are the top five options you should change or experiment with in Microsoft Teams’ chat settings.
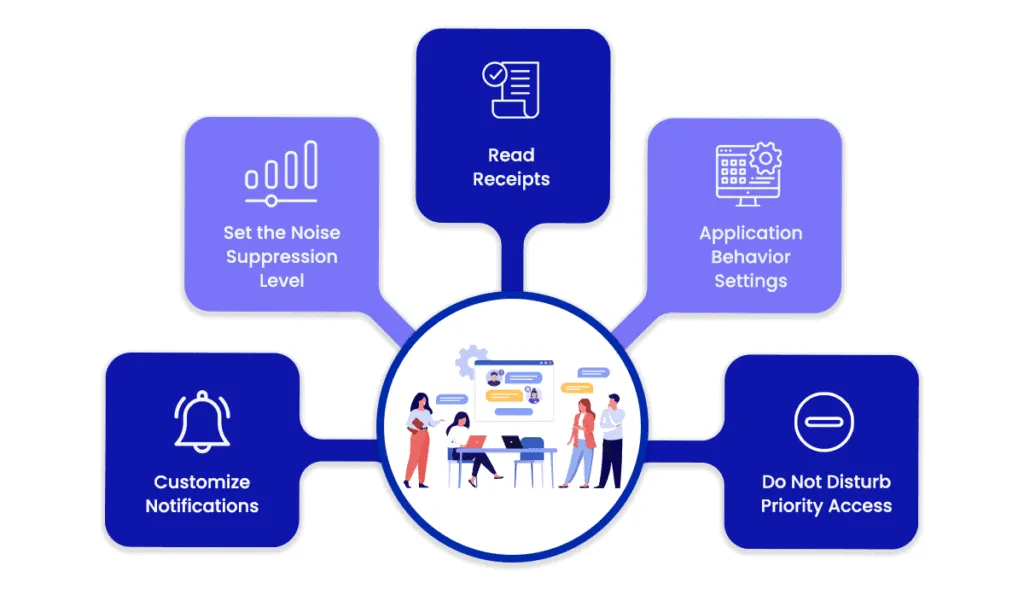
Microsoft Teams Chat Settings
1. Customize notifications
Your notifications in Teams can be customized to your preferences. Notifications can be turned on or off, and you can customize how you receive notifications for team updates. In your settings, you can customize notifications, including their appearance and sound.
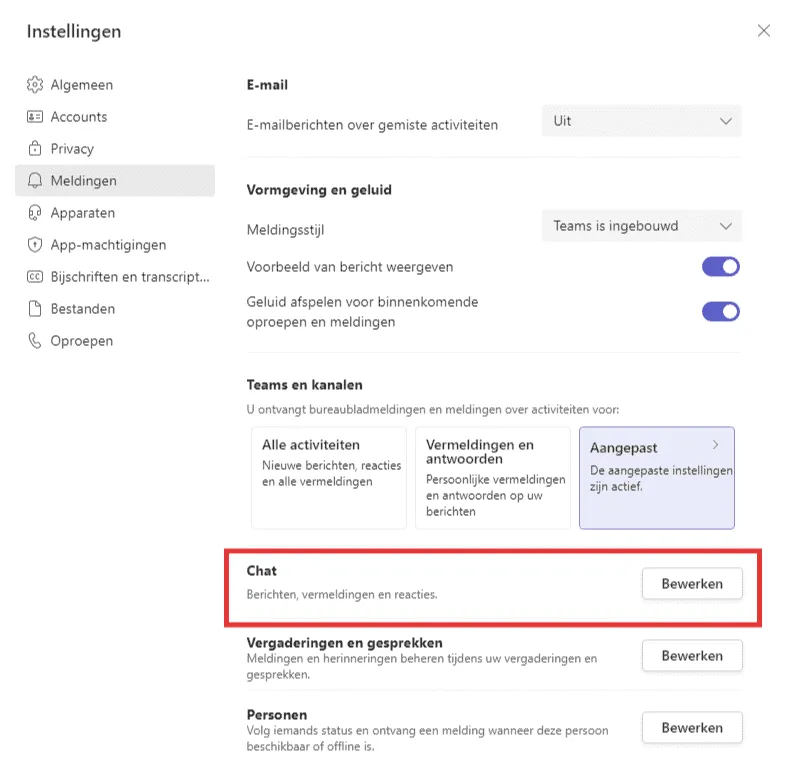
Click on the chat edit option in the image above to change the notification settings for messages, user mentions, likes and comments.
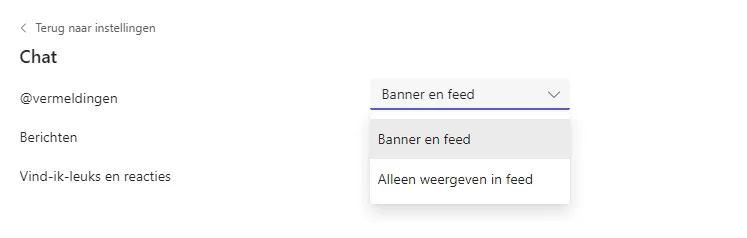
By selecting “Banner and Feed,” you will receive notifications on your device and in the Activity section in the upper left corner of Teams. Selecting ‘Show only in feed’ will prevent notifications from being sent to your desktop and will only show in your activity feed.
2. Set the noise reduction level
When you turn on your microphone during a Teams meeting or call, background noise such as slamming doors, shuffling papers, barking dogs, and so on can distract others. The new Microsoft Teams feature, Noise Reduction, helps suppress background noise during a Teams meeting.
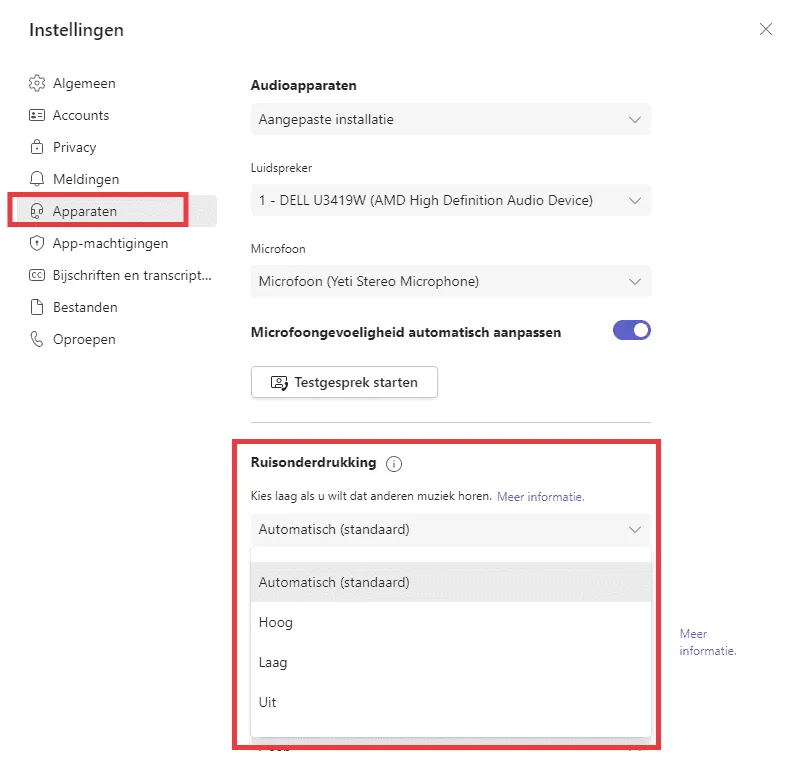
The following settings are available in Teams device settings for noise reduction:
- Auto (default) – Teams determine what level of noise reduction to use depending on the local noise.
- High : This setting suppresses all background noise other than speech.
- Low- Reduces low levels of background noise, such as computer fans and air conditioners.
- Disabled: Noise reduction is disabled. For hi-fi microphones in low-noise conditions, choose this option.
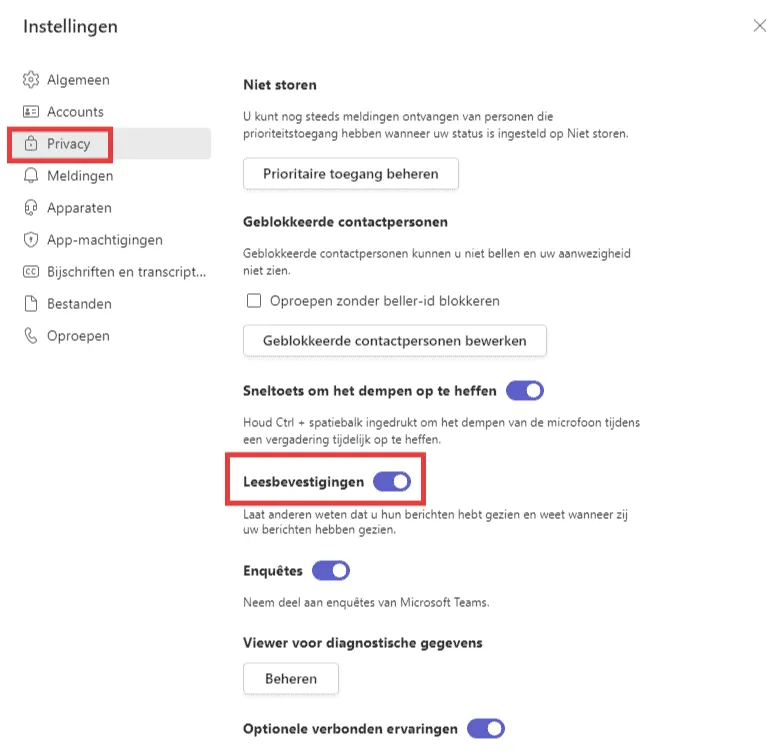
3. Reading confirmations
This Teams feature alerts people you are talking to when they have seen or read messages. It appears in the chat as an eye icon. This is enabled by default and however, if you want more privacy, you can easily disable it.

If you disable this feature in your settings, recipients will not be able to see if you have seen their message and vice versa. To turn it off, navigate to Teams settings by clicking on your profile image and then selecting Privacy. The switch option for “Read confirmations” then appears.
4. Application behavior settings.
Microsoft Teams offers additional application settings that allow you to control how it works. In the following screenshot, you will find options to start the application automatically (at computer startup), open it in the background, and keep MS Teams active even when you close the window (useful if you need to keep track of notifications):

In addition, there are some theme settings at the top that you can change for the visual appearance of the app.
5. Do not disrupt priority access.
If you set your status to Do Not Disturb, your colleagues will be notified that you are unavailable and message notifications will be turned off so that you are not distracted. Even if you are set to Do Not Disturb, you may still want to receive messages from certain people, such as your manager.
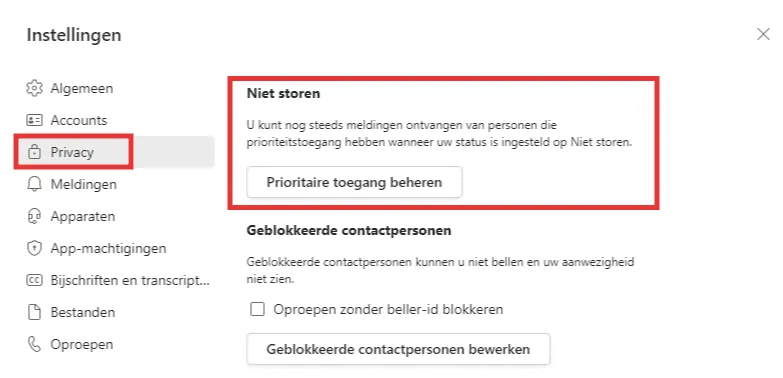
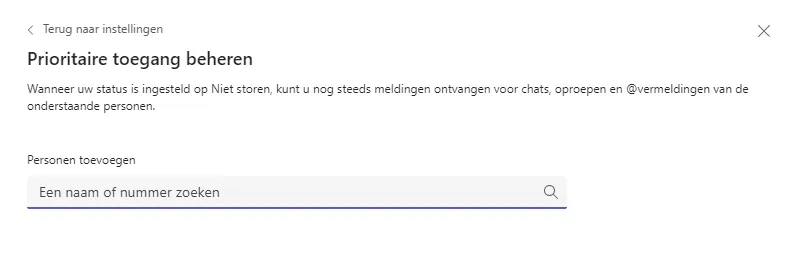
Changing your team’s Do Not Disturb priority access settings will ensure that you still receive notifications from priority people when your status is set to Do Not Disturb.
Click “Manage priority access” and find the people from whom you want to receive calls, chats and notifications and add them to the list.
Source: cloudfuze
Want to know more?

Related
blogs


Tech Updates: Microsoft 365, Azure, Cybersecurity & AI – Weekly in Your Mailbox.